How to Do AI Product Photography in ChatGPT or Claude: One Photo to a Full Catalogue Set
Turn one product photo into a white-background main image, lifestyle scenes, detail, scale and in-hand shots inside ChatGPT or Claude with BuzzVideo MCP.
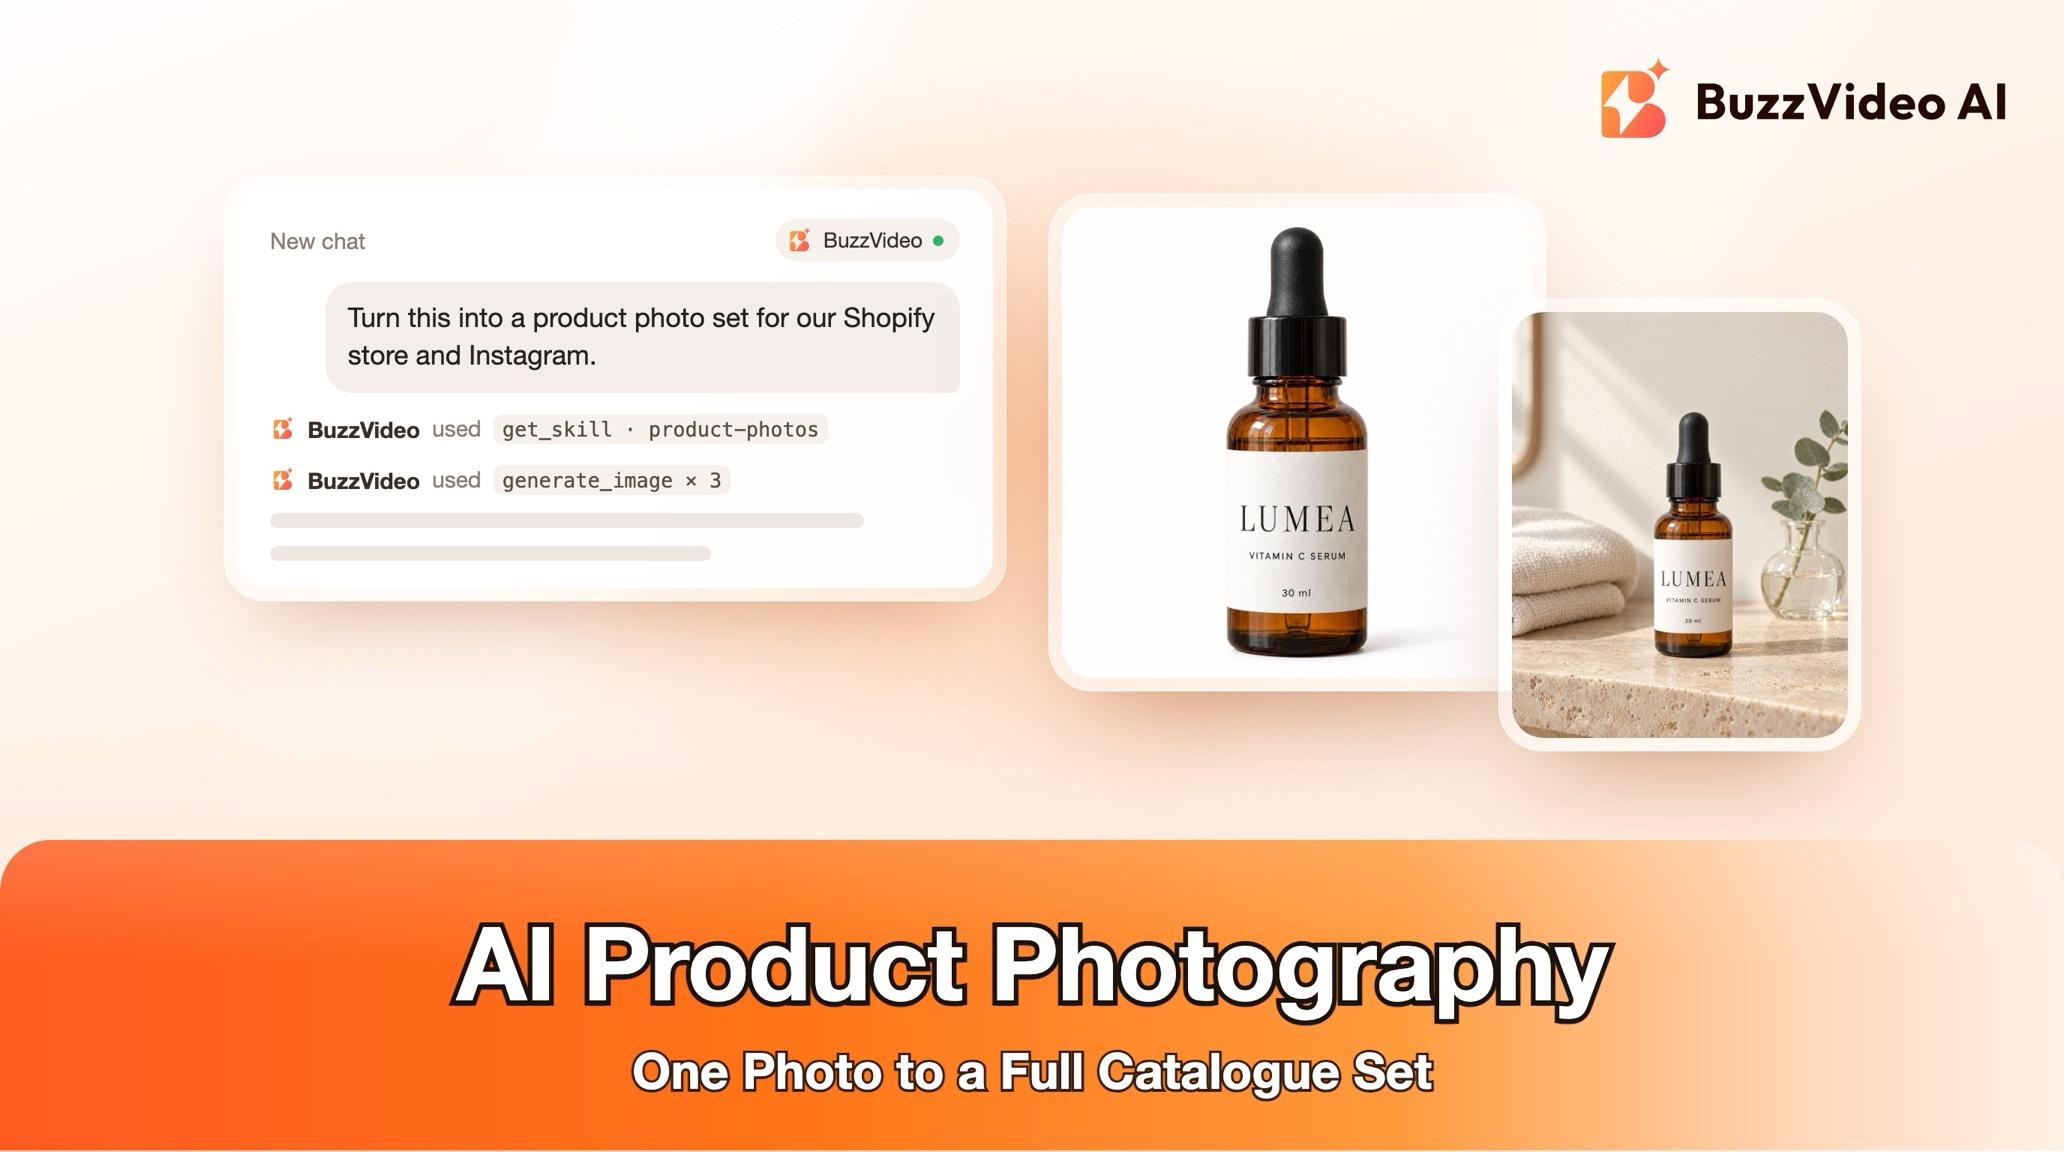
AI product photography turns one sharp photo of your product into a full catalogue set: a clean white-background main image, two or three lifestyle scenes, a detail close-up, a scale shot and an in-hand shot, all lit the same way as if they came from one studio shoot. The hard part is not the scenery—it is keeping the label, logo and shape exactly like the real product in every image.
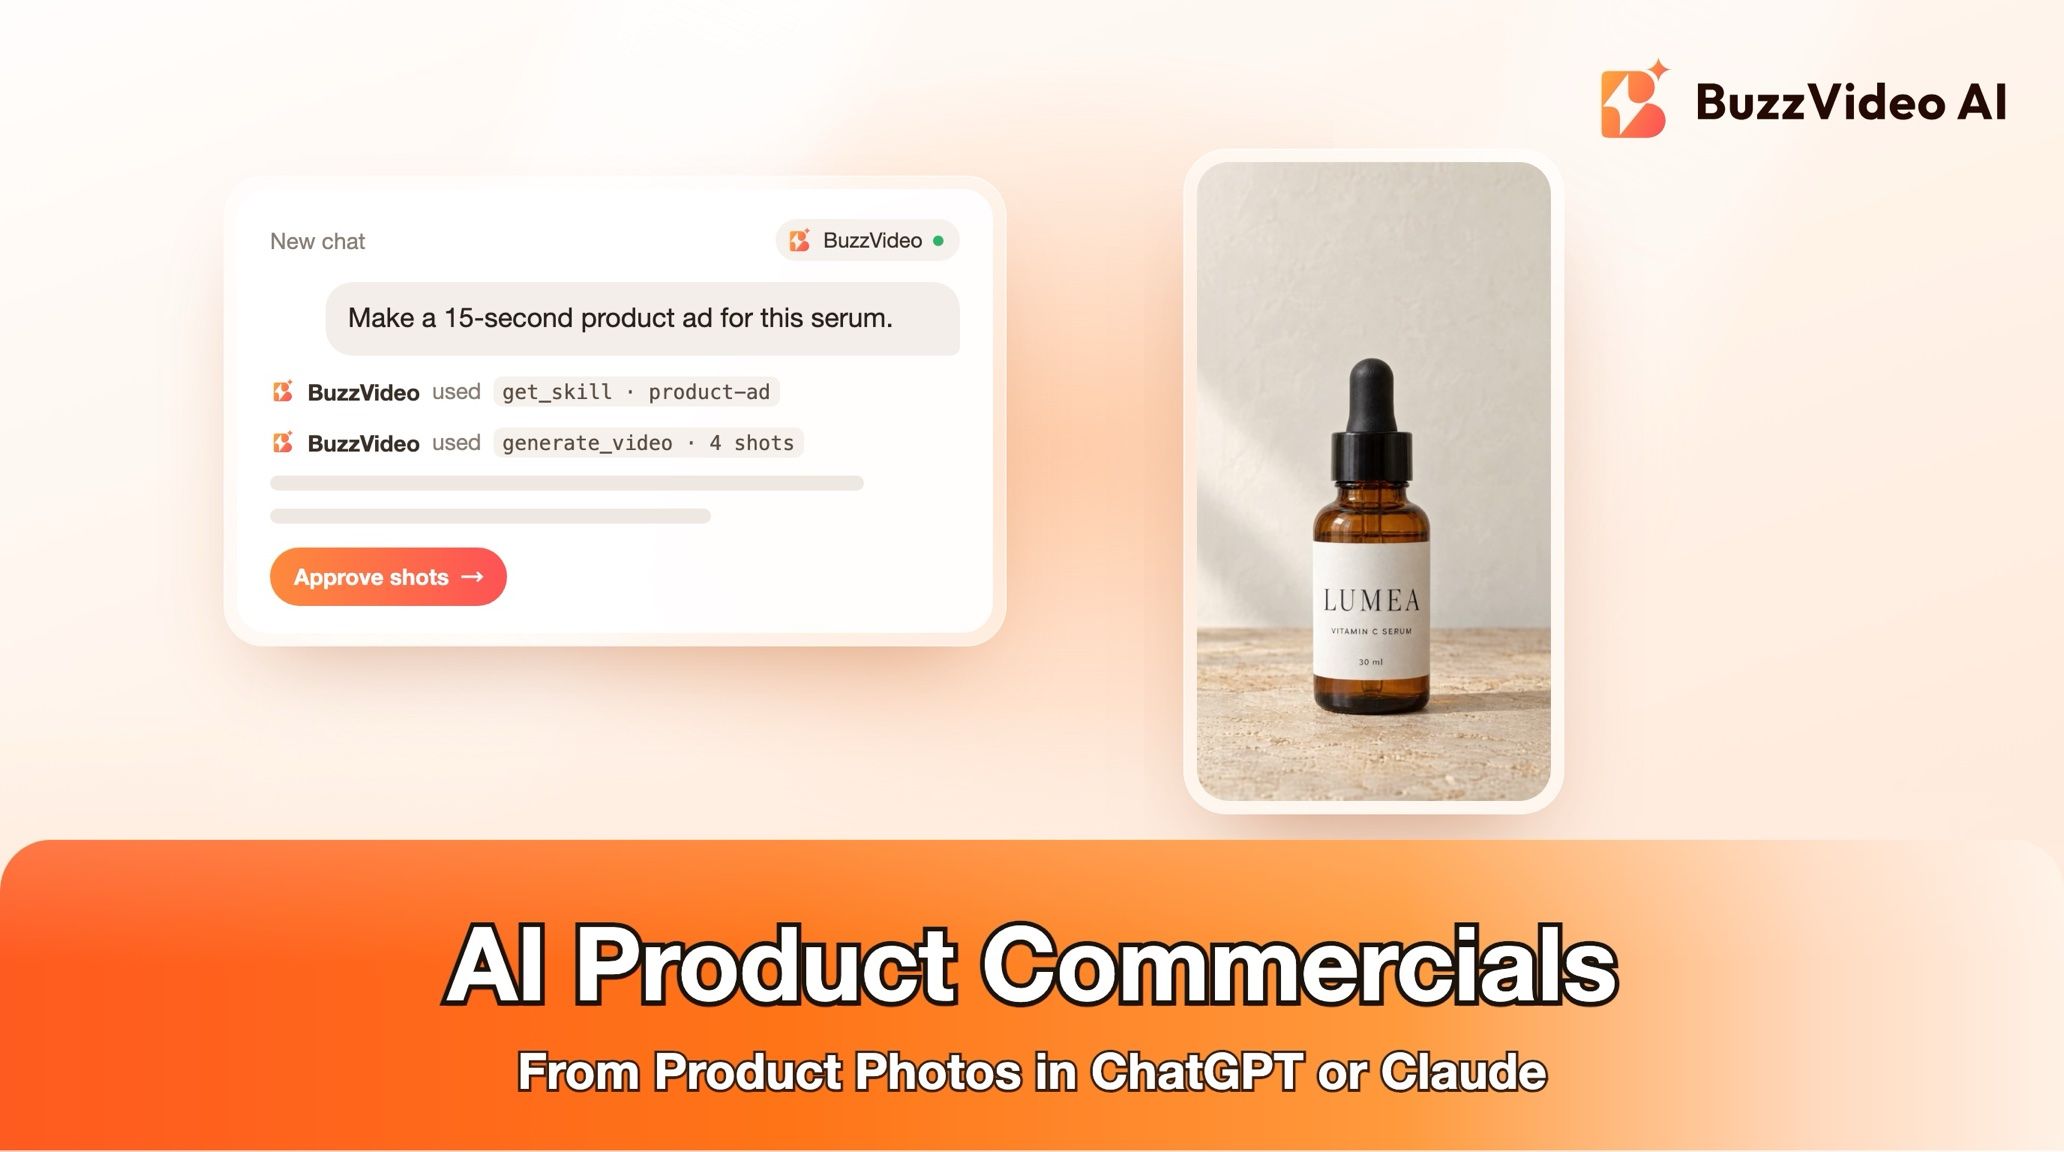
With BuzzVideo MCP connected, you can run the whole shoot from ChatGPT or Claude. The chat follows BuzzVideo's product photos guide: it reads your label back to you, plans the set with one shared lighting spec, shows the credit quote, and reviews every image for wrong text and rough edges before you get the files.
What is AI product photography?
It is using an image model with your real product photo as a reference, so the model places that exact product on a clean background or in a new setting instead of drawing a lookalike. Done carelessly, it gives you a bottle that is slightly the wrong shape with a misspelt brand name.
| Image | What it shows |
|---|---|
| Main image | Product centred on pure white, soft shadow, about 85% of the frame |
| Lifestyle 1–3 | The product in its use setting; props never hide it |
| Detail | A macro of the texture, nozzle, stitching or key feature |
| Scale | Next to a familiar object, such as a hand, phone or coffee cup |
| In-hand | Hands holding or using it, natural grip, label to camera |
Try it: connect BuzzVideo to your AI chat once, then send one product photo and say where the images will go. Connect BuzzVideo MCP →
What do you need before you start?
- A BuzzVideo account. Image generation works on every plan; Free includes Seedream 4.5 and Seedream 5.0 Lite, and paid plans add the other image models (pricing).
- BuzzVideo MCP connected to ChatGPT, Claude or another MCP client — see how to use BuzzVideo MCP in ChatGPT and Claude.
- A sharp front photo of the product, ideally 1500 px or more on the long side. Back, side and close-up photos help. A phone photo is fine if it is in focus and evenly lit.
- The exact label text, line by line, for anything small or hard to read in the photo.
- The real size of the product — the scale shot depends on it.
- Where the images will go: your website or Shopify, Amazon, Shopee or Lazada, Taobao or Tmall, Instagram or ads. This decides the ratios.
How do you make AI product photos step by step?
Step 1 — Send the photo and answer one round of questions
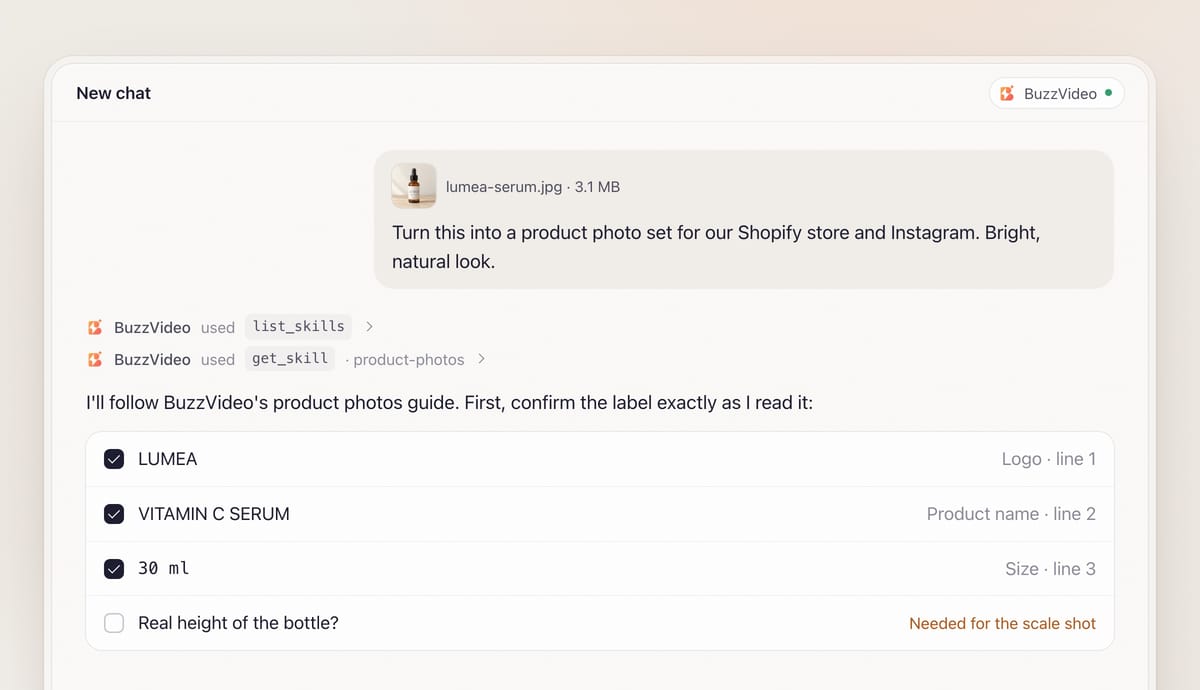
Attach your photo and say what you need. When BuzzVideo MCP is connected, the chat looks up BuzzVideo's guides (list_skills) and loads the product photos one (get_skill), so the shoot follows the same steps every time.
It then asks, in one round with defaults you can simply accept: which channels the images are for, the brand mood (default: soft, bright, natural daylight from the left, neutral warm palette), the target customer, the lifestyle settings (it suggests two or three that fit—for skincare, a bathroom shelf and a vanity), and whether people appear (hands only by default, or a model you describe or supply).
Step 2 — Confirm the label text and get a clean master
The guide writes one product description that every prompt reuses—shape, proportions, real size, material and finish, colours and label layout—and reads the label back to you top to bottom: brand, product name, size and every other line. You confirm or correct it. Any line it can't read, it asks you to type; it warns you that an unconfirmed line will be redrawn as invented words that look real when zoomed in.
Next comes the clean master that every image is built from. If your photo is already a sharp, straight-on shot on white and at least 1500 px, it is used as is—regenerating could only change the label. If it is smaller, the guide generates a 2K-or-larger master from it and tells you why. You check the master next to your original and confirm it is the same product before anything else is made.
Step 3 — Approve the shot list and the credit quote
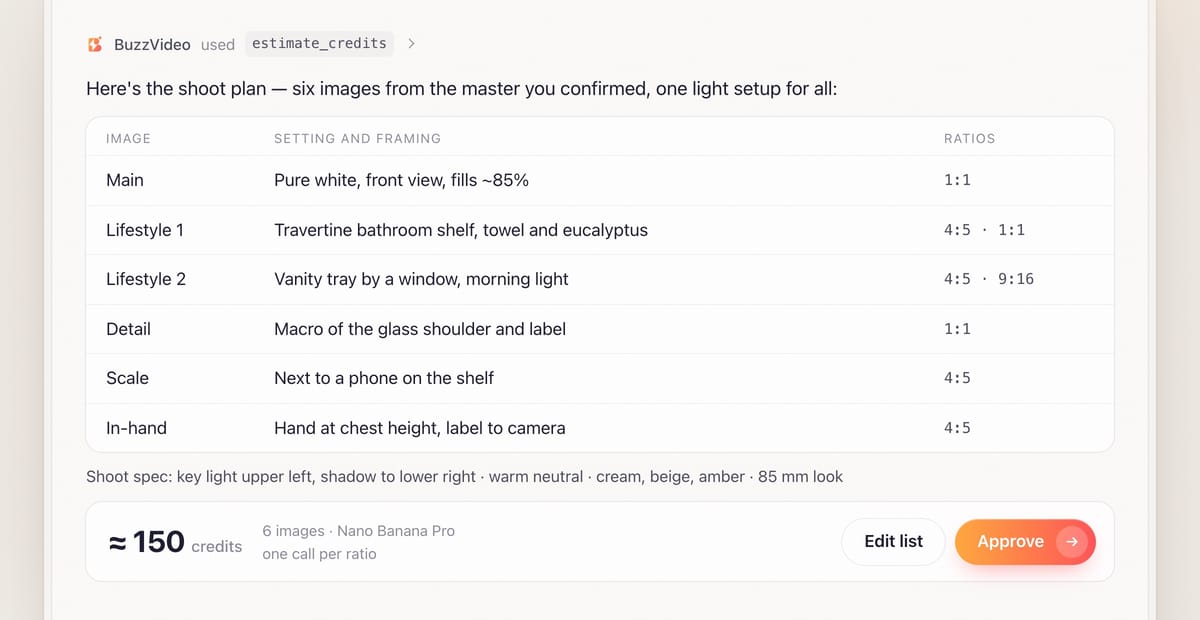
You get the plan as a list—each image with its setting, props, framing and ratios—plus one shoot spec written into every prompt: light direction (for example key light from the upper left, shadow to the lower right), colour temperature, a palette of two or three colours that suit the packaging, an 85–100 mm lens look and the background tone. That shared spec makes separate generations look like one shoot. The credit quote comes from estimate_credits, and nothing is generated until you approve.
Step 4 — Generate, one call per ratio
After approval, all images that share a ratio go out in one generate_image call, each with the clean master as the reference, the shoot spec and your confirmed label text quoted line by line. The guide also names the cap or closure colour and material, because after small print it is the part that drifts most. If you need one picture in several ratios, it generates once at the tallest ratio with space around the product and crops the rest.
Step 5 — Review every image, then export
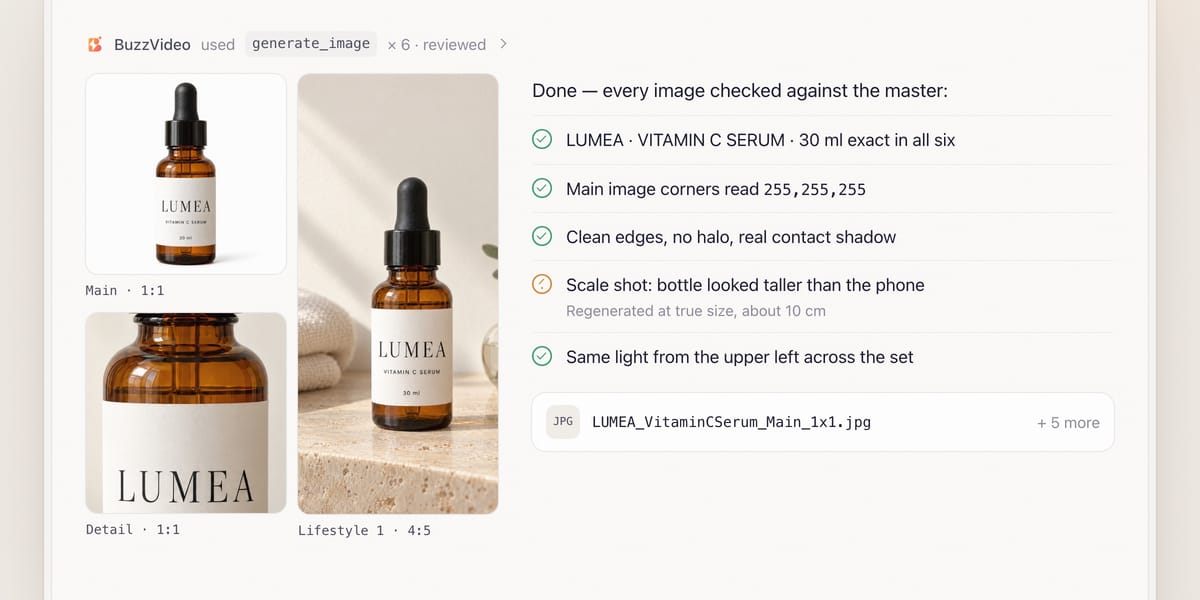
Review is mandatory. Every image is checked at full size against the master and your confirmed text. The logo, product name, size and key claim must be exact—if they are not, that image is regenerated. Numbers such as ml, % or SPF are checked digit by digit, including in reflections. The main image's corners must read pure white (255,255,255). Edges are checked for haloes and missing parts, hands for five fingers and a natural grip, and the whole set for the same light direction and palette.
You get a contact sheet, then the files: if the chat can run commands on your computer, it crops each image to its channel ratios and names them like LUMEA_VitaminCSerum_Main_1x1.jpg; if not, it lists each image link with the ratios it is meant for and how to crop it. The shoot spec is saved so your next product can match this set.
Copy-paste prompt
“Make a product photo set from this photo for [Shopify and Instagram]. Product: [brand, product name, size], real size about [10 cm tall]. Label text, top to bottom: [line 1 / line 2 / line 3]. Look: [soft daylight from the left, warm neutral palette], for [women 25–40]. Lifestyle settings: [bathroom shelf, vanity]. Hands only, no model. Show me the label list, the shot list and the credit quote before generating.”
Which ratios does each channel need?
| Channel | Default ratios the guide plans |
|---|---|
| Website / Shopify | 1:1 or 4:5 |
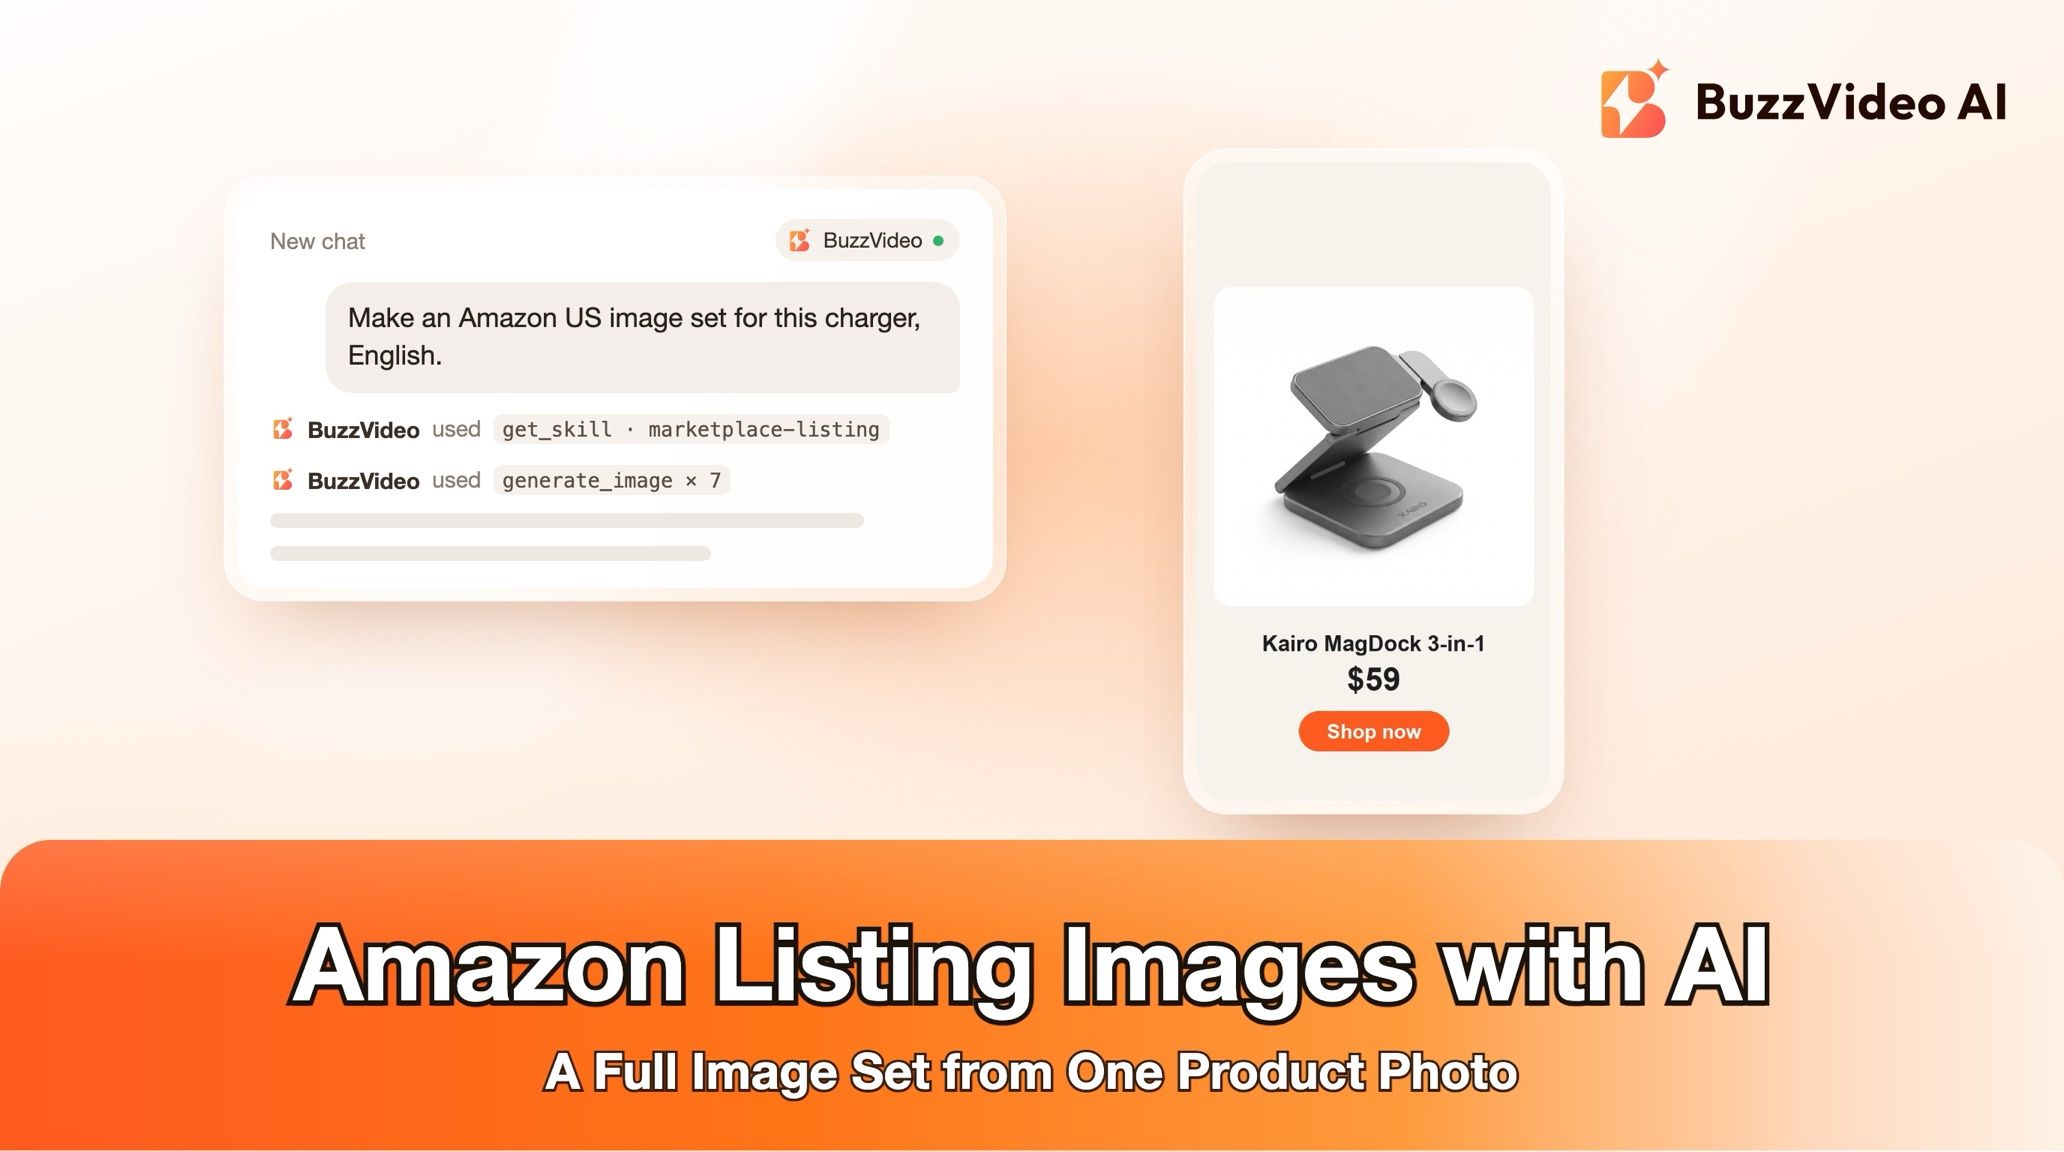
| Amazon | 1:1 main image |
| Shopee / Lazada | 1:1 |
| Taobao / Tmall | 1:1 main and 3:4 |
| 4:5 feed, 9:16 stories | |
| Web banners | 16:9 |
These are the guide's general defaults; platform rules change, so check each marketplace's current image requirements before you upload. Composing with space around the product lets one image serve several ratios.
What usually goes wrong, and how does the guide prevent it?
| Problem | What shoppers notice | What the guide does |
|---|---|---|
| Misspelt or melted label | A brand name that looks off | Label lines confirmed with you and quoted verbatim in every prompt; failed images regenerated |
| Wrong numbers | 30 ml becomes 50 ml | Size, % and SPF checked digit by digit, also in reflections |
| Product drifts | A different cap, shape or colour | One clean master as the reference; cap colour and material named in each prompt |
| Grey main background | Main image looks dirty or gets flagged | Corners sampled for pure white; lifted or regenerated if not |
| Mismatched set | Images look like different shoots | One shoot spec (light, palette, lens) in every prompt |
| Hand glitches | Extra or merged fingers | Hands checked on every in-hand and scale shot |
The guide never blurs away invented small print—blurred patches show when shoppers zoom in. If tiny text comes out as readable wrong words, it tells you, and where it can run commands it composites your real label instead.
How much does AI product photography cost?
You pay in BuzzVideo credits, and the guide shows the quote before generating. As a rough example, a seven-image set on Nano Banana Pro (25 credits per image) is about 175 credits—roughly $1.20 on Pro billed yearly. The same set on GPT Image 2 (about 4 credits per image) is under 30 credits. Add one more image if your photo needs a generated clean master. Per-model rates are on our pricing page; for how credits translate into ads, see BuzzVideo pricing and cost per ad.
Which BuzzVideo guide should you use instead?
| You want… | Use this guide |
|---|---|
| A consistent set of still product photos | Product photos (this one) |
| A full marketplace detail page with selling-point text, spec charts and A+ modules | Marketplace listing |
| A video ad made from your product photos | Product ad |
Step-by-step guides: Marketplace listing · Product ad
You don't need to name the guide: describe what you want, and the chat picks the matching one. If you want to turn the finished photos into motion, our walkthrough on product demo videos from photos covers that side.
Ready to reshoot your catalogue without a studio? Connect BuzzVideo to your AI chat and send one product photo.
FAQs
Can AI product photography keep my label text exact?
The large text—logo, product name, size and key claim—is held exact, and any image where it is not gets regenerated. Tiny print is never fully reliable, so the guide has you confirm every line first.
Is a phone photo good enough?
Yes, if it is sharp and evenly lit. Under about 1500 px, it still serves as the label reference, but the guide generates a larger master for the main image.
What happens to the back or bottom of the pack?
Anything your photos don't show is invented by the model. The guide agrees with you how it should look first; by default it is left completely blank, with no text, barcode or QR code.
Can I include a model instead of just hands?
Yes. Describe the look, or send your own model photo as an extra reference. Hands only is the default.
Can I use it on the Free plan?
Yes. MCP connects on every plan, and Free includes image generation on Seedream 4.5 and Seedream 5.0 Lite. Paid plans unlock the other image models.
What do I get at the end?
All images (or their links) with the ratios each is for, the clean master or cut-out, the shoot spec, the models used, the credits spent and a note of what the review caught and fixed.
Last verified: November 2, 2026, against our live pricing and product pages.
Next reads: How to use BuzzVideo MCP in ChatGPT and Claude · Product demo videos from photos · Product URL to video ads
About the author
Monica
Product Manager
As a Product Manager at BuzzVideo AI, I work with marketers and growth teams on AI ad workflows—from brief to shippable creatives. I write about practical product workflows, model choices, and how teams turn product pages into ads that feel native on Meta and TikTok.